Solo Hobby project
Duration: 1 Week
This game is a casual racer where the only input is a throttle button. All steering and braking is done automatically.
The goal was to create a project in a short period of time but is still scalable. A prototype in where I explored how I can make a car feel good with a single input. The challenge was to apply the right forces to the car to make it move in a casual but predictable manner.
The track itself is generated mesh in 3D space allowing the car to go both over and under itself and makes the creation of levels fast and efficient.
The track itself is generated mesh in 3D space allowing the car to go both over and under itself and makes the creation of levels fast and efficient.

Input
The input button uses the Unity EventSystem by implementing the IPointerDownHandler and IPointerUpHandler to detect inputs on an UI Image.
This way I have support for both PC as well as tap inputs on mobile devices which is the target platform.
This way I have support for both PC as well as tap inputs on mobile devices which is the target platform.
Path
The path is defined using a catmull rom spline to allow it being drawn in 3D. An alternative would be to use bezier curves as splines to have anchor controls to make even more interesting curves. but I found catmull rom to suit the game better as it would allow my idea of having an in app level editor more casual friendly where you just tap on a position where you want the track to be.
The path is defined using a catmull rom spline to allow it being drawn in 3D. An alternative would be to use bezier curves as splines to have anchor controls to make even more interesting curves. but I found catmull rom to suit the game better as it would allow my idea of having an in app level editor more casual friendly where you just tap on a position where you want the track to be.
Vector3 GetSplinePoint(Vector3 p0, Vector3 p1, Vector3 p2, Vector3 p3, float t)
{
float t2 = t * t;
float t3 = t2 * t;
{
float t2 = t * t;
float t3 = t2 * t;
Vector3 interpolatedPoint =
0.5f * ((2 * p1) +
(-p0 + p2) * t +
(2 * p0 - 5 * p1 + 4 * p2 - p3) * t2 +
(-p0 + 3 * p1 - 3 * p2 + p3) * t3);
0.5f * ((2 * p1) +
(-p0 + p2) * t +
(2 * p0 - 5 * p1 + 4 * p2 - p3) * t2 +
(-p0 + 3 * p1 - 3 * p2 + p3) * t3);
return interpolatedPoint;
}
}
To get a point over multiple curves I used the count of the control points as a divider.
private float ClampTToPath(float t) => t % _path.controlPoints.Length;
The t value both represents which section of the spline it is currently at as well as how far along the section it is but subtracting the section to get a value between 0 and 1.
private float ClampTToPath(float t) => t % _path.controlPoints.Length;
The t value both represents which section of the spline it is currently at as well as how far along the section it is but subtracting the section to get a value between 0 and 1.
public Vector3 GetPos(float t)
{
int section = (int)t;
{
int section = (int)t;
var p0 = controlPoints[GetClampedPointIndex(section)].position;
var p1 = controlPoints[GetClampedPointIndex(section + 1)].position;
var p2 = controlPoints[GetClampedPointIndex(section + 2)].position;
var p3 = controlPoints[GetClampedPointIndex(section + 3)].position;
var p1 = controlPoints[GetClampedPointIndex(section + 1)].position;
var p2 = controlPoints[GetClampedPointIndex(section + 2)].position;
var p3 = controlPoints[GetClampedPointIndex(section + 3)].position;
return GetSplinePoint(p0, p1, p2, p3, t - section);
}
}
Mesh Generation
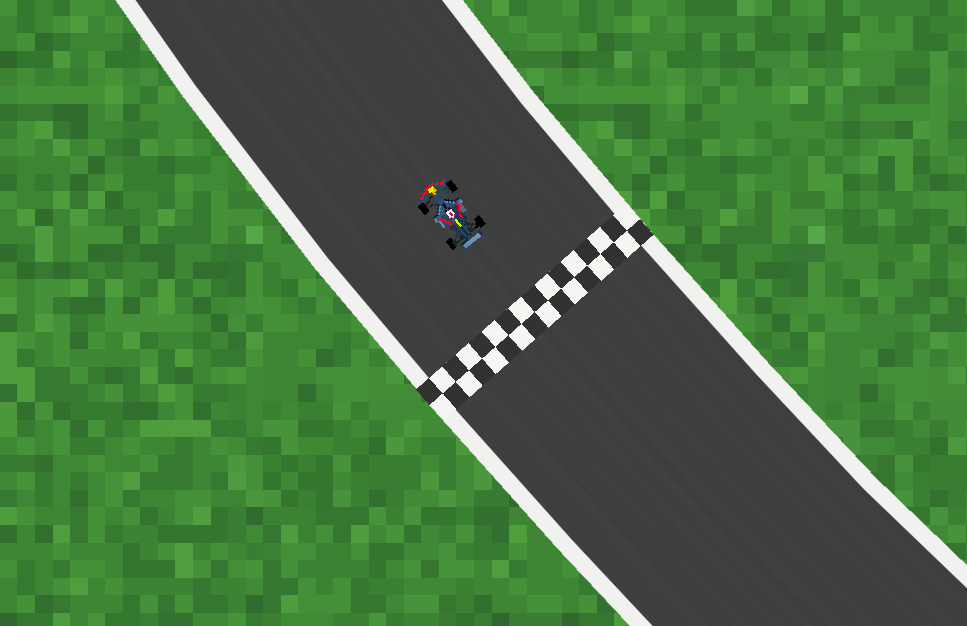
The track is generated across the path at the first frame of the game. where the start/finish line is included in the generation.
The mesh needs vertices, triangles and UVs these are initially storead as lists to easily be expanded as the mesh is generated. a number of subdivisions is defined in the inspector for the road which is how many triangles will be created to make up the entire road. Could also been seen as the resolution for the mesh.
Each subdivision adds vertices, triangles and UVs which are calculated in 2 steps.
First step is to find the direction of the subdivision.
Each subdivision adds vertices, triangles and UVs which are calculated in 2 steps.
First step is to find the direction of the subdivision.
this is done by getting the t value for the current section then using that t value and add a small offset on the spline to get a direction vector. this results in the forward vector needed. The forward vector can be rotated 90 degrees to get the right vector direction of the subdvision.
float t = ((float)i / _subdivisions) * _path.controlPoints.Length;
Vector3 splinePoint = _path.GetPos(t);
Vector3 forward = _path.GetPos(t + 0.01f) - splinePoint;
Vector3 right = Quaternion.Euler(0, 90, 0) * forward.normalized;
Vector3 forward = _path.GetPos(t + 0.01f) - splinePoint;
Vector3 right = Quaternion.Euler(0, 90, 0) * forward.normalized;
The second step is using this right vector to calculate the vertices for the current subdivision. each vertex is multiplied by 0.5 to make sure the total width is equal to the road width.
Vector3 corner1 = splinePoint - right * _roadWidth * 0.5f;
Vector3 corner2 = splinePoint + right * _roadWidth * 0.5f;
Full code for generation looks like this
private void GenerateRoadMesh()
{
Mesh roadMesh = new Mesh();
{
Mesh roadMesh = new Mesh();
List<Vector3> vertices = new List<Vector3>();
List<int> triangles = new List<int>();
List<Vector2> uv = new List<Vector2>();
List<int> triangles = new List<int>();
List<Vector2> uv = new List<Vector2>();
for (int i = 0; i <= _subdivisions; i++)
{
float t = ((float)i / _subdivisions) * _path.controlPoints.Length;
{
float t = ((float)i / _subdivisions) * _path.controlPoints.Length;
Vector3 splinePoint = _path.GetPos(t);
Vector3 forward = _path.GetPos(t + 0.01f) - splinePoint;
Vector3 right = Quaternion.Euler(0, 90, 0) * forward.normalized;
Vector3 forward = _path.GetPos(t + 0.01f) - splinePoint;
Vector3 right = Quaternion.Euler(0, 90, 0) * forward.normalized;
Vector3 corner1 = splinePoint - right * _roadWidth * 0.5f;
Vector3 corner2 = splinePoint + right * _roadWidth * 0.5f;
Vector3 corner2 = splinePoint + right * _roadWidth * 0.5f;
vertices.Add(corner1);
vertices.Add(corner2);
vertices.Add(corner2);
uv.Add(new Vector2(0, 0));
uv.Add(new Vector2(1, 1));
uv.Add(new Vector2(1, 1));
if (i < _subdivisions)
{
int v0 = i * 2;
int v1 = i * 2 + 1;
int v2 = (i + 1) * 2;
int v3 = (i + 1) * 2 + 1;
{
int v0 = i * 2;
int v1 = i * 2 + 1;
int v2 = (i + 1) * 2;
int v3 = (i + 1) * 2 + 1;
triangles.Add(v0);
triangles.Add(v2);
triangles.Add(v1);
triangles.Add(v2);
triangles.Add(v1);
triangles.Add(v1);
triangles.Add(v2);
triangles.Add(v3);
}
}
triangles.Add(v2);
triangles.Add(v3);
}
}
roadMesh.vertices = vertices.ToArray();
roadMesh.triangles = triangles.ToArray();
roadMesh.uv = uv.ToArray();
roadMesh.triangles = triangles.ToArray();
roadMesh.uv = uv.ToArray();
roadMesh.RecalculateNormals();
_roadMeshFilter.mesh = roadMesh;
}
}
Target
The target is determined using the path spline and is moved in front of the car by a certain distance at a time. As the target is invisible I didn't mind it being slightly stutter but had it jump forward instead of using a lerp for a smooth interpolation.
So by increasing the targetPathTValue slightly until the distance is right I can ensure that the car always chases a point in front of it. I also make sure to clamp the T value in a way that if it reaches the end of the spline it continues from the beginning again to allow doing multiple laps.
private void MoveTarget()
{
var isTargetTooClose = Vector3.Distance(transform.position, _target) < distToTarget;
if (isTargetTooClose)
{
var nextPos = _path.GetPos(_targetPathTValue);
while (isTargetTooClose)
{
_targetPathTValue += 0.01f;
_targetPathTValue = ClampTToPath(_targetPathTValue);
nextPos = _path.GetPos(_targetPathTValue);
isTargetTooClose = Vector3.Distance(transform.position, nextPos) < distToTarget;
}
_target = nextPos;
}
}
Forces
To achieve the casual game feel I was looking for I had to go beyond just adding forces to a rigidbody. but I also wanted to be able to take advantage of the unity colliders. So I used the rigidbody velocity but did the calculations myself instead of letting the physics system control the forces.
What I did was to make the car always rotate towards a point a certain amount of units in front of itself on the track.
What I did was to make the car always rotate towards a point a certain amount of units in front of itself on the track.
private void SteerTowardsTarget()
{
Vector3 steerDirection = _target - transform.position;
steerDirection.y = 0;
{
Vector3 steerDirection = _target - transform.position;
steerDirection.y = 0;
_rotationToTarget = Quaternion.LookRotation(steerDirection);
transform.rotation = Quaternion.Slerp(transform.rotation, _rotationToTarget, turnSpeed * Time.deltaTime);
}
transform.rotation = Quaternion.Slerp(transform.rotation, _rotationToTarget, turnSpeed * Time.deltaTime);
}
The rotation gives the opportunity to apply a force forward along the track. but it's also important to handle deceleration as we don't want to have the car flying off the screen. the deceleration makes sure there is still a little bit of acceleration that gradually goes down as the player release the throttle.
On top of that I add an idle brake to make sure that the current velocity is reduced and not just the acceleration is withdrawn. The brake is only applied while moving forward to not get in a situation where the car starts accelerating after it has stopped by a negative brake force.
private void ApplyAcceleration(float forwardDir)
{
if (_isAccelerating)
{
Accelerate();
}
else if (_currentAcceleration > 0)
{
Decelerate(forwardDir);
}
else if (forwardDir > 0.01f)
{
_velocity -= transform.forward * forwardDir * idleBrakeAmount;
}
{
if (_isAccelerating)
{
Accelerate();
}
else if (_currentAcceleration > 0)
{
Decelerate(forwardDir);
}
else if (forwardDir > 0.01f)
{
_velocity -= transform.forward * forwardDir * idleBrakeAmount;
}
_velocity += transform.forward * _currentAcceleration;
}
}
For acceleration I wanted to have a direct response once the player throttles so I introduced a minimum acceleration to make sure the acceleration has an impact immediately.
private void Accelerate()
{
if (_currentAcceleration < _minAcceleration)
{
_currentAcceleration = _minAcceleration;
}
_currentAcceleration = Mathf.Min(_maxAcceleration, _currentAcceleration + (_acceleration * Time.fixedDeltaTime));
}
{
if (_currentAcceleration < _minAcceleration)
{
_currentAcceleration = _minAcceleration;
}
_currentAcceleration = Mathf.Min(_maxAcceleration, _currentAcceleration + (_acceleration * Time.fixedDeltaTime));
}
private void Decelerate(float forwardDir)
{
_currentAcceleration = Mathf.Max(0, _currentAcceleration - (_deceleration * Time.fixedDeltaTime));
}
{
_currentAcceleration = Mathf.Max(0, _currentAcceleration - (_deceleration * Time.fixedDeltaTime));
}
The forward direction is the dot product between the current velocity and the forward direction of the car.
var forwardDir = Vector3.Dot(transform.forward, _velocity);
var forwardDir = Vector3.Dot(transform.forward, _velocity);
To control the sliding I once again used the dot product between the right vector of the car transform and the current velocity to determine how much the car is sliding. I then apply a sliding brake amount to counter the sideways force to imitate the friction of the tires going sideways.
private void ApplySlidingFriction(float slidingDirection)
{
_velocity += transform.right * slidingDirection * slidingBrakeAmount;
}
{
_velocity += transform.right * slidingDirection * slidingBrakeAmount;
}
Debug
I added some simple debug tools to easily see how the different forces are applied on the car at runtime by using line renderers. These can simply be toggled on/off individually in the debug panel in game.